Using avast! Home Edition –
AntiVirus ![]()
I.
Registration: avast! is free for home use.
However, it must be registered within 60 days or it will stop working. You
register your copy of avast! as follows:
Right click on the
blue circle with the white “a” inside (Fig 1).
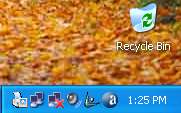
(Figure 1)
Left click on “Start
avast! Antivirus” (Fig 2).
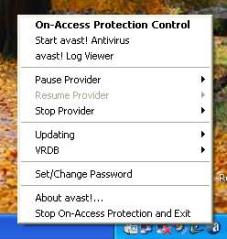
(Figure 2)
Left click on
“Registration” – you must be connected to the internet to do this.
(Figure 3)
Left click on “Program
registration…” (Fig 4).
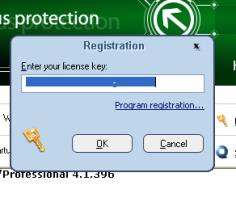
(Figure 4)
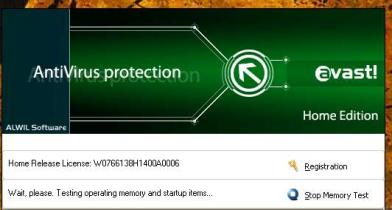
The avast! web page will load in your
Web Browser (Fig 5)
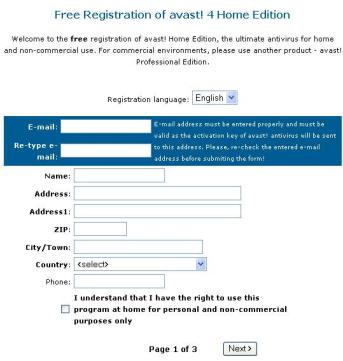
(Figure 5)
Complete fields
asking for your e-mail address, Name, Address, Zip, City/Town, Country. Place a
check mark in the box “for personal and non-commercial purposes only.” Left click “Next”.
You are asked how you heard of avast!. Put a check mark in the “From a Friend”
box. Left click “Next”. You are asked if you want to participate in
Beta-Testing. You do not! Left click “Register”.
Within 5 minutes you will receive your
License Key in your e-mail. Copy this number and type (or paste) it into the
registration box shown above. Left click “OK”. Registration is
done. You will be asked to do this again in 14 months. This is just to let them
know you still want the service and automatic updates.
II.
Configuration:
Right click on the blue circle with
the white “a” inside (Fig 1).
Left click on “Start
avast! Antivirus” (Fig 2).
Allow the test
of Memory and Startup to run, then a blue rectangular screen will
appear as shown
(Fig 6).

(Figure 6)
The second item is “Resident
Protection”. Left click on “High” or whatever appears in that space. A small
box will appear with a slide bar. Slide the bar back and forth until the word
“High” appears. Left click on high to lock in the High Resident Protection.
The fifth item is “Automatic Updates”. Left click “On” or
whatever appears in that space. A box will appear (Fig 7)
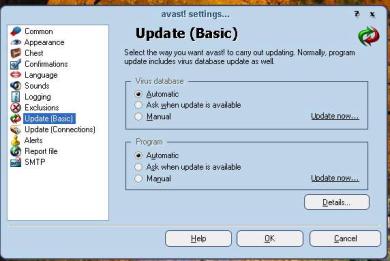
(Figure 7)
Make sure that the black dot appears in
“Automatic” for both “Virus database”
and “Program”. Left click “OK”.
Configuration is now finished.
III.
Performing the
Scan:
Right click on the blue circle with
the white “a” inside (Fig 1).
Left click on “Start avast!
Antivirus” (Fig 2).
Allow the test
of Memory and Startup to run; a blue rectangular screen will
appear as shown
in Figure 6. On the right side of the blue rectangle in Figure 6
are three icons.
The top icon looks like a blue box or hard drive. Left click on
this icon and a
box will pop up (Fig 8).
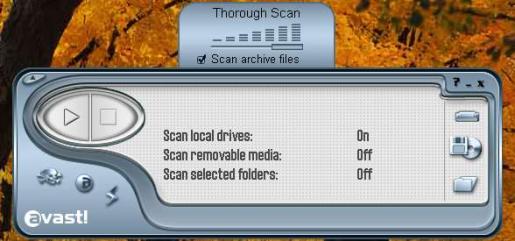
(Figure 8)
Slide the bar to
the right until it says “Thorough Scan”. Also put a check mark in
the box beside
“Scan archive files”. Left click on the triangle icon on the
left (looks like
a ‘play’ button). The scan will begin and run to completion.
If a virus is
detected, a siren will be heard and a woman’s voice will announce
“A virus has
been detected”. Left click on the “Delete” option. In the next
Window, Left
click on “Delete permanently”.
SPECIAL NOTE: avast! Home Edition
AntiVirus updates automatically,
usually once a day or once every two days,
without any input from you. So any time you are connected to the Internet you
may get an update of the virus database or program from avast! This will be
accompanied by a man’s voice
announcing that “Your virus database has
just been updated”. We mention this
so this announcement from your computer
does not come as an unwelcome surprise.
![]()
Using Spybot –
Search & Destroy – Anti-Spyware
![]()
I.
Updating: Spybot – Search
& Destroy is free for home use. To use the program
effectively it must be updated and run
at least once a week. Following is the
update procedure:
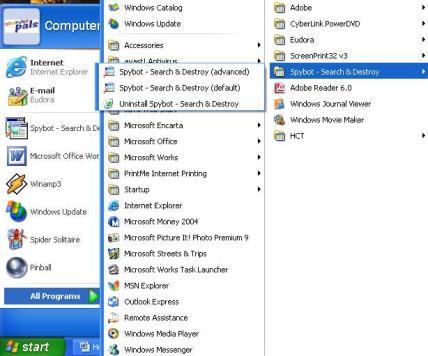
Left click start, find the
program and Left click the “Spybot - Search & Destroy (default)” to
launch it (Fig. 9).
(Figure 9)
The Spybot opening screen will be
displayed (Fig.10)
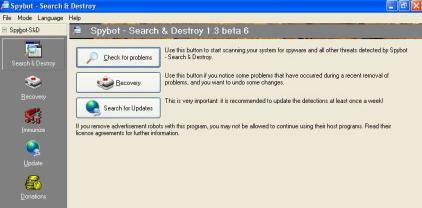
(Figure 10)
Left click the box that says “Search
for Updates” (Fig. 10).
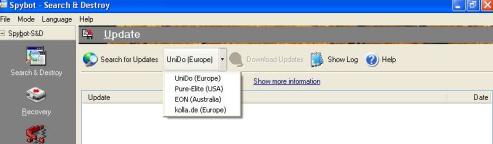
If an update is available it will appear
on the screen under “Update” (Fig. 11).
Left click the down arrow beside
“UniDo Europe”, as shown, and select a USA site or an Australian site. The
Europe sites should not be selected. Then Left click “Download Updates”. The updates will then
download and install automatically. (Please note in Fig. 11 there were no
updates so none were shown
in the Update column, and the “Download
Updates” is ghosted.)
(Figure 11)
II.
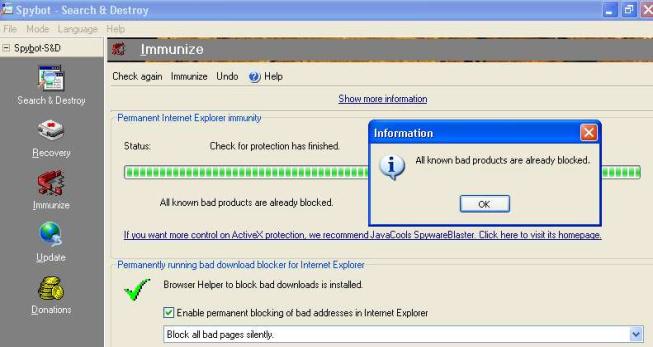
Immunize: Left click on the
Red icon on the left that says “Immunize”
(Fig. 10). A test will run and you will
be advised if all bad products are already blocked, or if new products can be
blocked. If new products can be blocked, you will Left click on the
word “Immunize” in the toolbar (Fig. 12).
(Figure 12)
III.
Deleting
Spyware: Left click on the “Search & Destroy” icon in the upper left
pane (Fig. 12). The “Search &
Destroy” window will display.
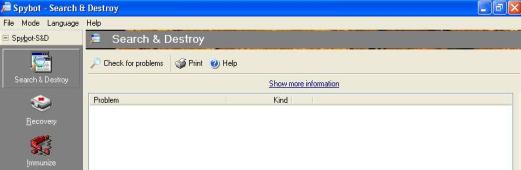
Left click on “Check for Problems”
and Spybot will begin to check your computer for spyware. Wait until the check
is complete (Fig. 13).
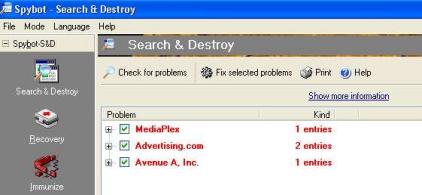
(Figure 13)
Left click “Fix selected problems”
and Spybot will delete the problems from your computer (Fig. 14).
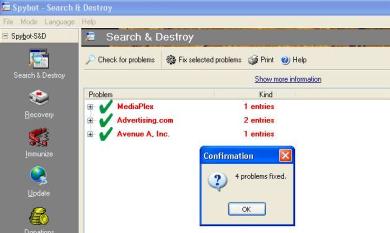
(Figure 14)
Left click “OK”, close Spybot, and
you’re done! ![]()